|
|
 |
| |
Advanced Skinning in Photoshop
Tutorial By Andrewgosu
Purpose: This tutorial teaches you some main tools and tehniques in photoshop, in order to skin better than normal people.
Note: This tutorial is rather long, so take you're time studying it.
Step 1
– Getting started
Im going to modify ghouls skin, so convert it into .tga and open it in Photoshop.
Note: If you dont know how to convert it, read my other skinning tutorial's first part.
Step 2
– Replacing the bones
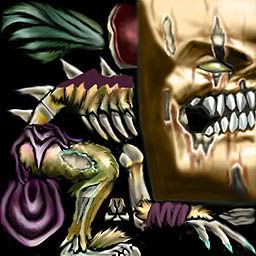
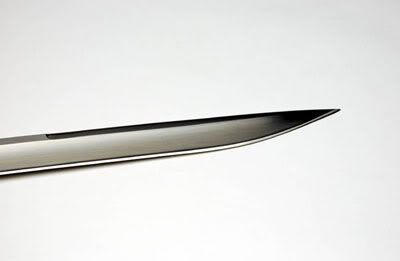
You should see the ghouls ribs. We are about the replace them with the blades, using the base image below.
Base image
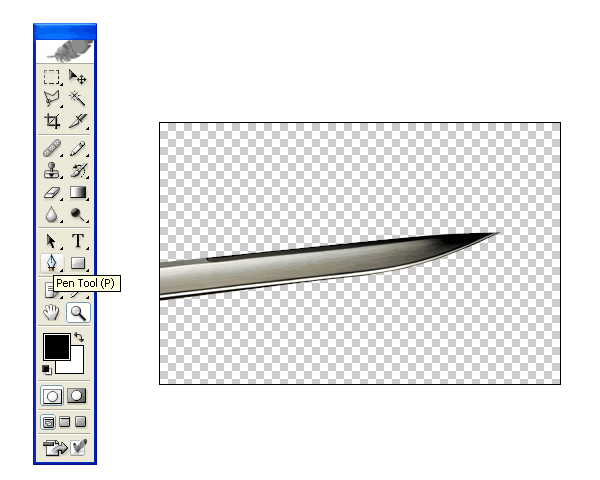
Copy paste the base image, and cut the unwanted parts away with the pen tool. Dont flatten the layer after cutting.
Now, copy-paste the blade image to your ghoul skin. Start replacing one of the backbone by using scale and rotate tools to match the size and curves of it.
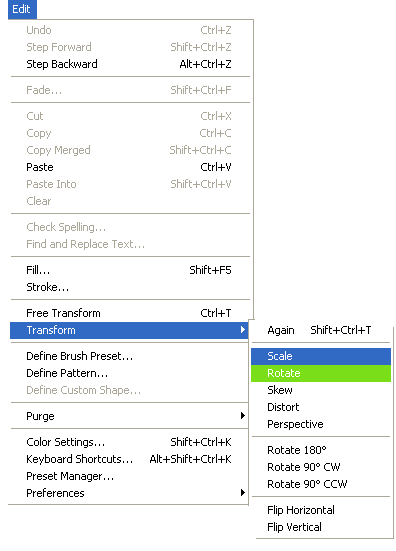
After that, duplicate the layer and use the same tehinque above to match another bone, until you have all of them done.
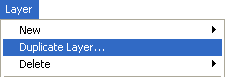
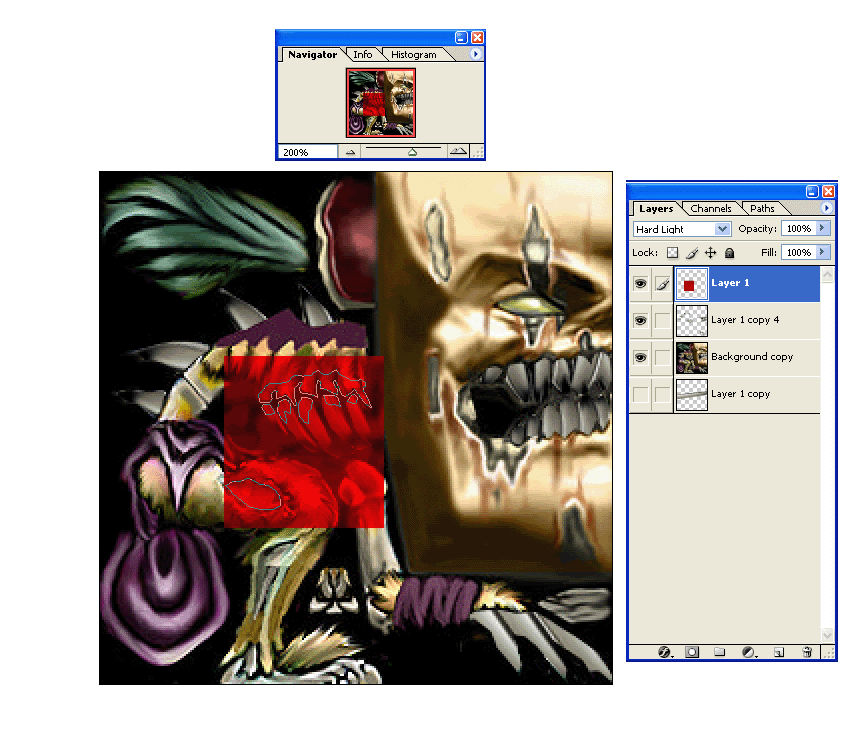
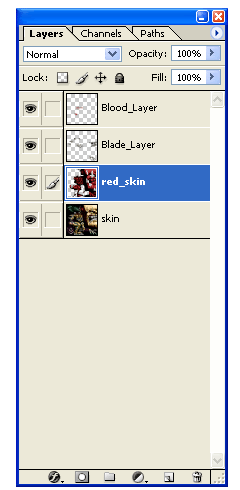
As you can see, you got many layers now. Hide the main ghoul layer and merge visible the blade layers. Merge can be found under Layer.
Note: Hide is when you click on the eye image, left of the layer name, and unhide is when you click it again.
You should have 2 separate layers, the ghoul skin and the blade layer. Hide the blade layer, and select all the backbones and ribs with the pen tool. Then unhide the blade layer, activate the selection, invert it, and then delete it.

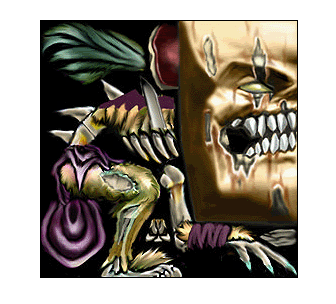
Meanwhile, I have replaced the teeth and the toes too.
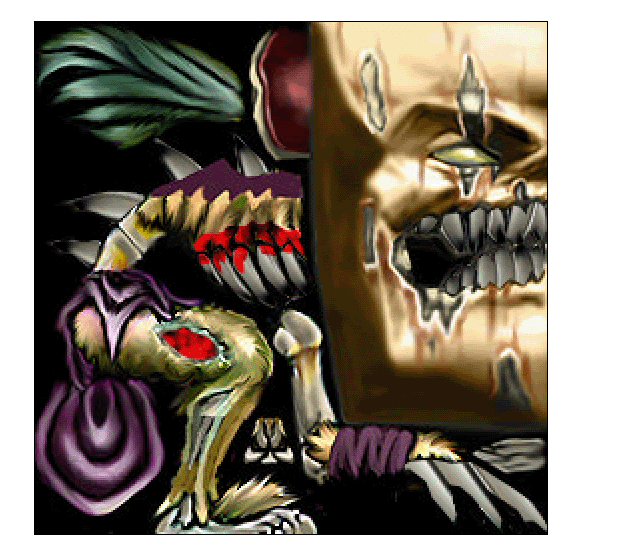
You should see something like this.
Step 3 – Replacing textures
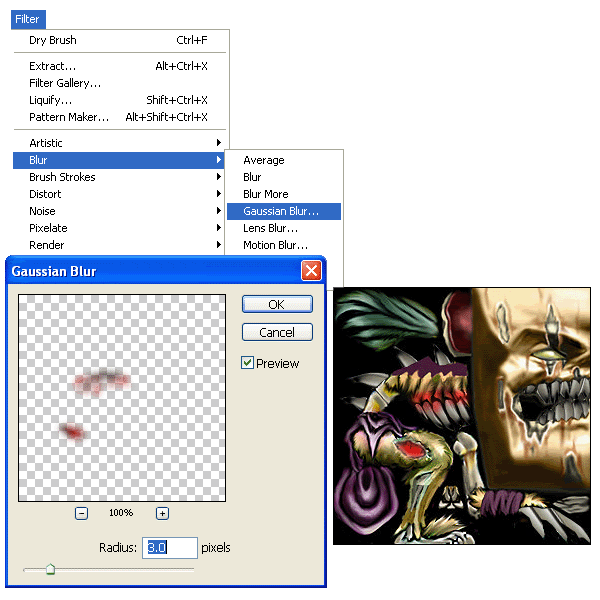
For the 3rd step, we are going to add some blood texture. Select some parts of the metal ribs, and the big hole in his leg with pen tool, but dont activate the selection yet.
Note: You can apply blood effect on the teeth too.
Blood Image

Copy paste the blood image to your skin, above the skin layer and set the blending to hard light.
Then activate the selection on the blood image layer, invert it and delete the inverted part.
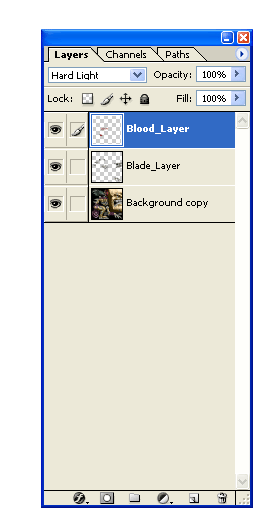
You should have 3 layers by now, skin layer, blade layer and the blood layer.
To finish off the blood layer, use Filter>Blur>Gaussion Blur on it.
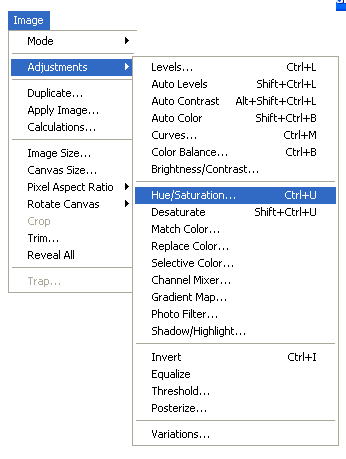
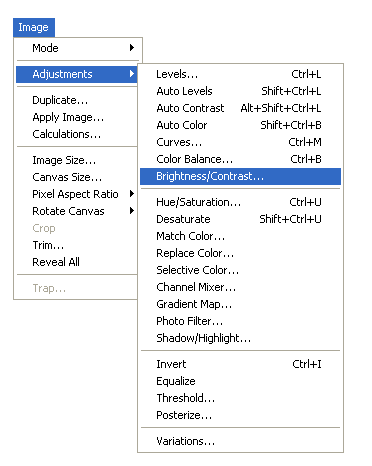
Step 4 – Colouring
Note: Zoom tool is your best friend
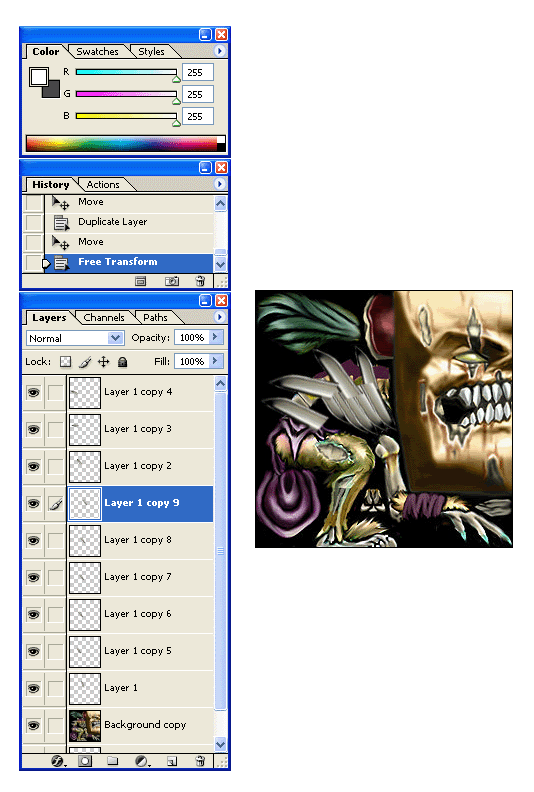
Now, we’re going to use the Hue/Saturation tool to colour the rest of the ghoul’s body. Duplicate the skin layer, and use Hue/Saturation tool on it. You can pick any colour you wish, Im going to use a dark red one.
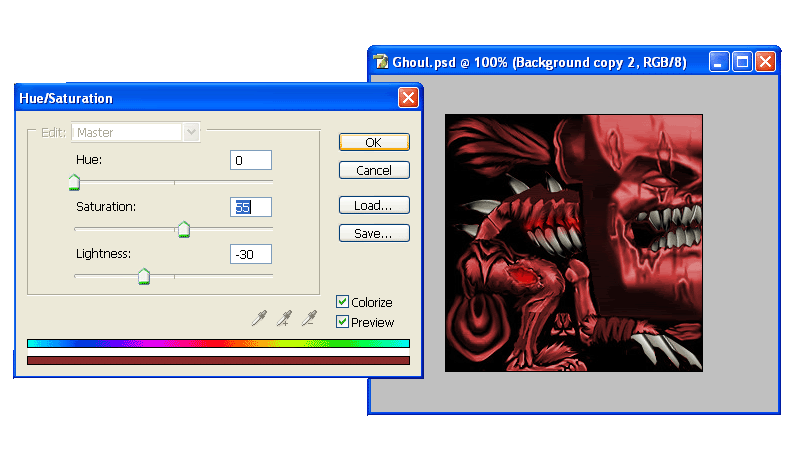
As you can see, the eyes and some unwanted ares are coloured too. thatswhy
I duplicated the layer. Select all the unwanted ares on the coloured skin layer using pen or polygonal lasso tool and erase them.
After that, im going to darken the red skin layer and the skin layer a little bit by using the
brightness /contrast tool.
Brightness/Contrast tool
Use these setting on the red skin layer.
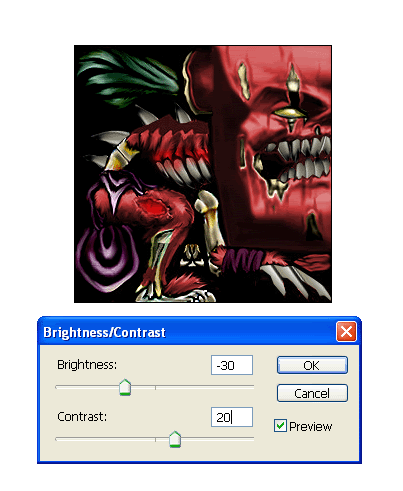
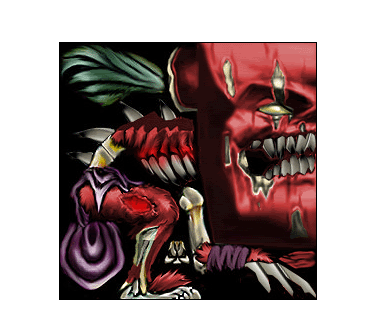
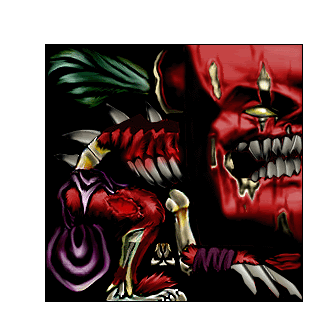
After done that you should see this below.
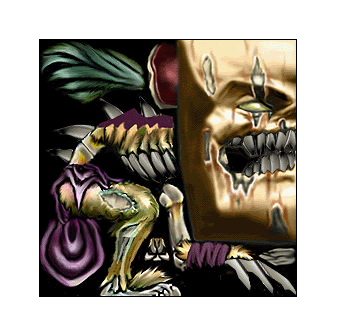
Step 5 – Final touch
For final touch im going to tint the hair black. Select the skin layer and use the pen tool on the hair. Select the hair. After that, desaturate it.
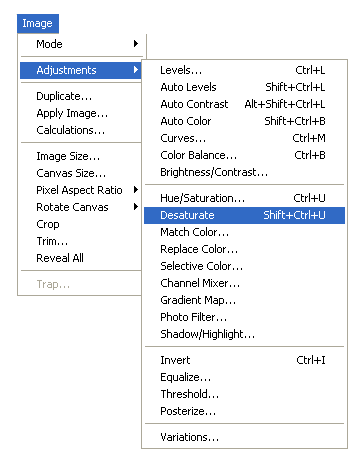
When desaturated, use the brightness/contrast tool again.

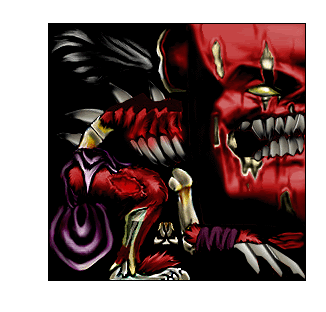
If you have followed every step right, your final result looks like this
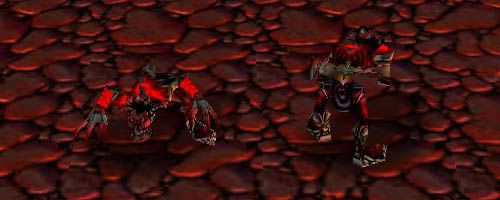
In game Screenshot
Note: If you can find any grammar mistakes, qoute them and tell me. Thanks for reading. Any feedback appriciated.
All the images, blood and blade, are googeled. You can find even better ones, if you wish or can.
Click here to comment on this tutorial.
|
|
 |
|
 |
Designed by Arkheno
2005
Blizzard
Entertainment®
Blizzard Entertainment is a trademark or registered trademark of Blizzard
Entertainment, Inc. in the U.S. and/or other countries. All rights
reserved. |
|