Custom Fade Filters
By SD_Ryoko
This tutorial is about creating a custom fade filter. It will also be easier to do this with Warcaft III The Frozen Throne v1.17.
Before we make our screen, you will need the Warcraft III Image Extractor II.
This program allows you to convert files from .TGA format to .BLP format. You can download the image tool from below.
You will need a decent photo-editing program to create your screen. The most important requirement is that the program can open TGA files. I am using ULEAD Photo Impact. You will also need your fade filter image. You will start with an image that is 800x450, because this is the viewable area inside Warcraft III. I have chosen an image from the hot new movie, Aliens Vs Predator.
- Warcraft III The Frozen Throne v1.17 or higher
- Warcraft III Image Extractor II from Warcraft III Campaigns
- ULEAD Photo Impact from ULEAD Website
- A starting image that is 800x450 in size

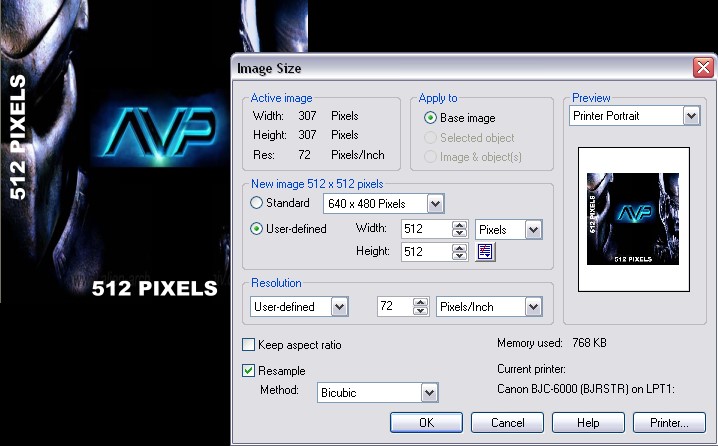
Now we need to resize our image, and make it 512x512 square. This is going to squish the image, and it will look a little strange.
The game is going to stretch your image to the size of the screen, so it will look okay inside the game. We are going to
make the image square because Textures are stored as quadratic surfaces with dimensions that are powers of 2 in video memory,
so this is the most efficient size. The image is not going to lose much quality either.
NOTE: When you save your image, you must have all of the image selected inside the editing program. Select all, then save it that way. Anything not selected will not appear when using the fade filter.
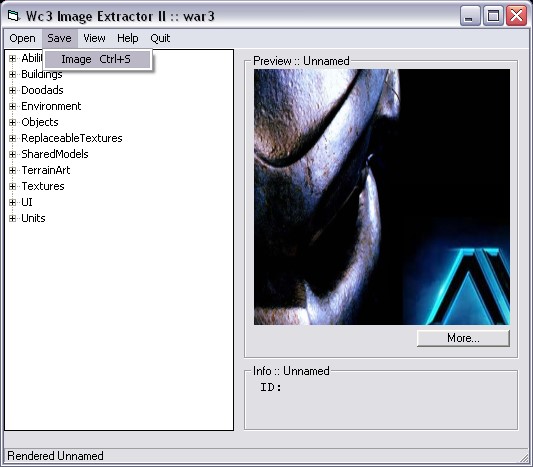
When we are done editing the filter image, but before we import the file into your map, we need to convert it to a
BLP format. Open the Warcraft III Image Extractor, and open your new image. Then click SAVE, and save your new skin as
a .BLP file. The image tool will prompt you for the image quality.
Reducing the quality may save some file space in your map, but you can leave it at 100 percent. I usually use 70-75 without
losing too much detail. See the difference in file size below.
- A 512 image saved at 100% is 591 kb.
- A 512 image saved at 75% is 148 kb.
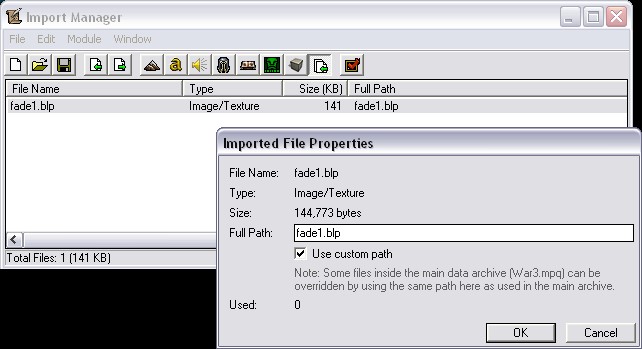
Inside World Editor, load the Import Manager under the Module menu. Click on File, Import and open the BLP file that you just saved. The custom path is not important, but I am going to change it to keep it simple. Double click the item inside the import manager, and check the box that says Use Custom Path. Now you can rename your fade filter if you desire.
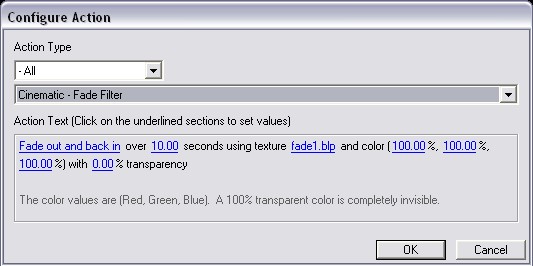
Now, to use your new fade filter, just create a trigger that uses the 'Cinematic - Fade Filter' action. Click on the texture name,
and change it to your imported file. The color values must all be 100% to see your image. If they are left at zero, then it
will only fade to black.
Note: If you do not have version 1.17, you can convert the trigger to custom text, and change the filter filename to your imported file.
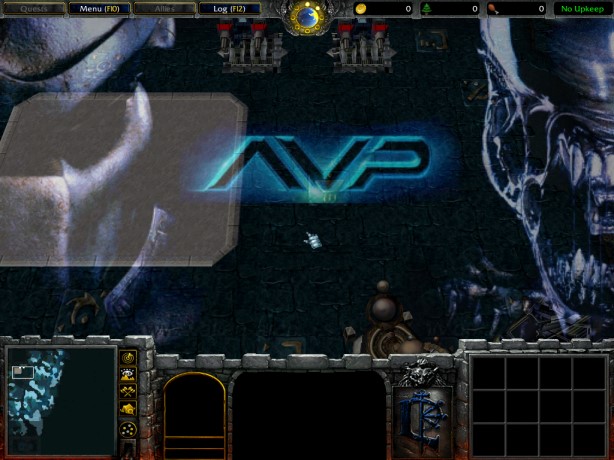
You're finished! This is what my fade filter looks like inside the map. Because of the way I did my trigger,
It will fade solid and back over 10 seconds.
|