|
|
 |
| |
Skins - Editing Skins in GIMP
Tutorial By Andrewgosu
Introduction
This tutorial is about creating and editing skins with GIMP, a popular and free designing program. Before actually making the skin, we need GIMP to edit the skin and Warcraft Image Extractor II to extract them from Warcraft III.
• Download GIMP here.
Note: Before installing GIMP, you need the GTK+ 2 Runtime Environment, which download link is below thw GIMP’s download link.
• Download Image Extractor II here.
Note: If having trouble installing image extractor and nothing hasnt worked, you have some visual basic files missing which can be found here.
Exporting the skin
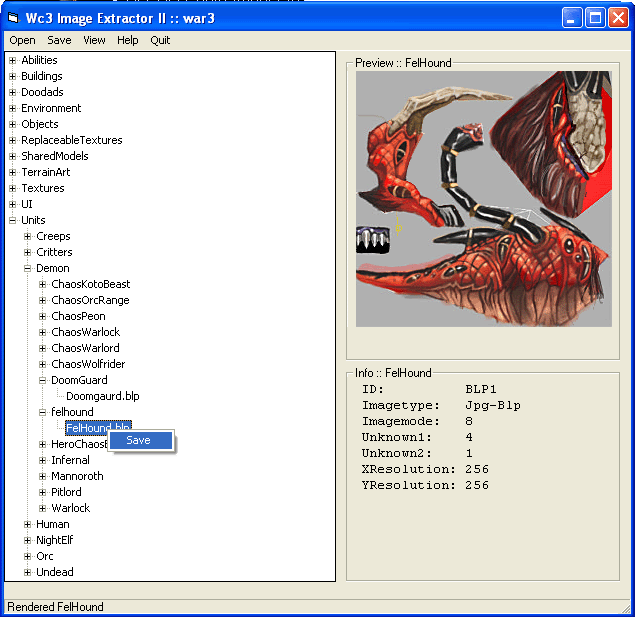
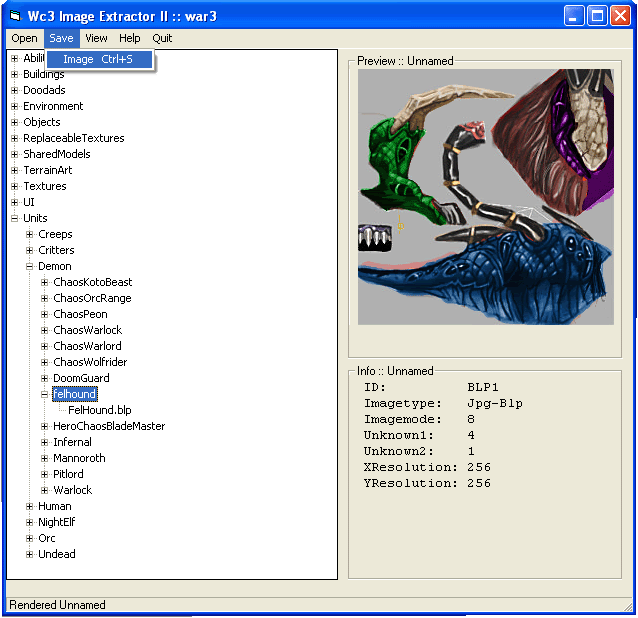
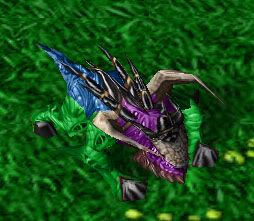
The first step would be opening the Image Extractor and choosing the skin to edit. Im going to edit the Felhound skin im my tutorial. To extract the skin, open the war3.mpq and locate skin.
The felhound skin can be found at Units\Demon\Felhound\Felstalker.blp. After opening the skin, save it into .tga format which allows us to edit it in GIMP.
• Locate the skin.
• Save it as .tga.
Editing the skin
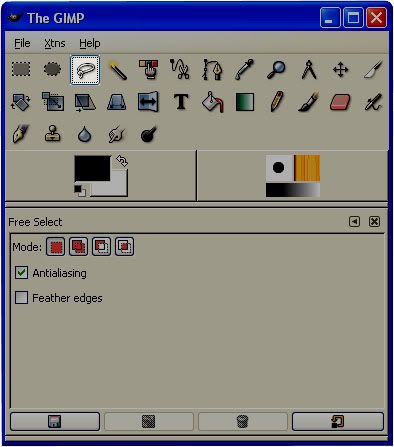
Now, its time to open GIMP. Then locate the saved skin file and open it too.

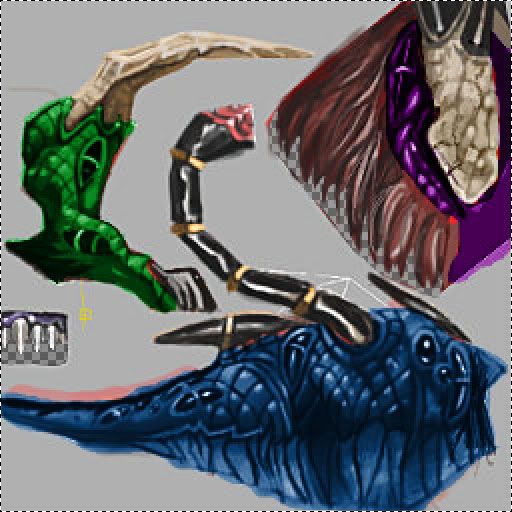
Should look something like this.
Now, lets get down to business. I want to change the colours of my little pet. To do that, I pick the „Select Hand Drawn Regions” tool. I want my felhound to have different colours, so I use this tool in order to select areas individually, but if you want, you can use the „Create and Edit Paths” tool to select all areas you want and then edit them all together.
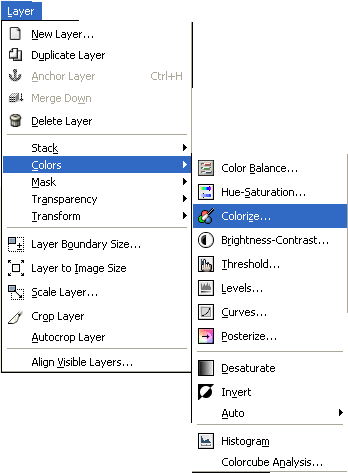
By now, I have selected the body part of the Felhound. I want to colour that part blue. I have 2 options: whether I use the Hue/Saturation or the Colorize option. Both work, but I tend to use Colorize option, because I can set the lightness level there.
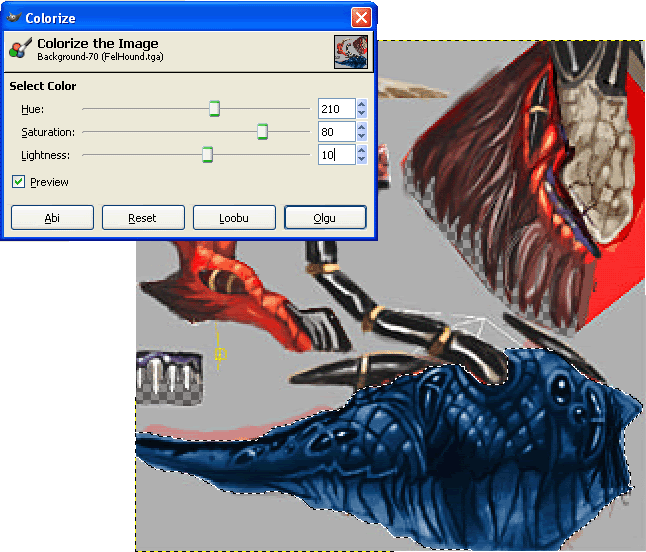
Now, its time for the fun part. You can see what colour the Felhoud looks from the preview. Play with the colours until you see what you want. Then click ok.
After I coloured the body, I used the same tehnique to colur the other parts of the Felhound aswell.
Now the skin is ready. Save it.
Note: I know my colouring is bad, but Im here to show how to basically do it. It takes time, to colour it perfectly.
• Locate the skin and open it.
• Select the ares you want to colorize
• Use Colorization or Hue/Saturation option.
• Save the skin.
Note: When saving use the uncompressed mode

Note: When editing a skin with team colours, pay attention to alpha layer, so it wouldn’t ruin your skin. This a basic tutorial how to edit&colour skins. I will add later how to alpha skin.
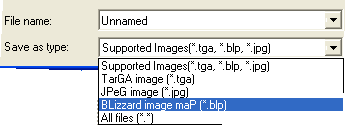
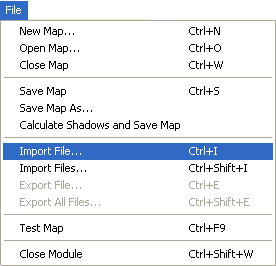
Converting the skin
Now its time to convert the edited Felhound skin back into .blp. Open the Image Extractor again. Locate the edited skin and open it. Convert it into .blp.
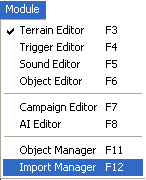
Importing the skin to WE
After your new skin has been saved to .blp, you might wanna check it out in WE. To do that, open the Import Manager, locate the file and change the path to the original one. In my case its Units\Demon\Felhound\Felstalker.blp.
Save the map, close WE and reopen it to see the new skin.
Skin:
To recap:
• Download GIMP
• Download Warcraft Image Extractor II
• Export the skin
• Convert it into .tga
• Edit the skin
• Convert it back to .blp
• Import it to WE
Click here to comment on this tutorial.
|
|
 |
|
 |
Designed by Arkheno
2005
Blizzard
Entertainment®
Blizzard Entertainment is a trademark or registered trademark of Blizzard
Entertainment, Inc. in the U.S. and/or other countries. All rights
reserved. |
|